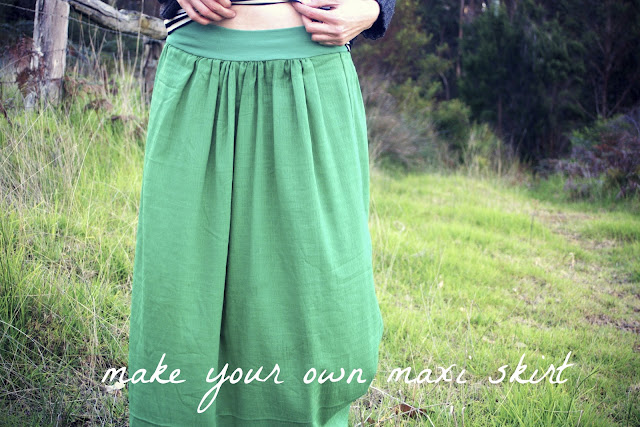
Here is a tutorial for making your own maxi skirt. This skirt is easy to assemble and comes together very quickly. You will only need basic sewing skills. A stretchy waistband avoids the need for zips and buttons and gives a nice flat finish. I have used french seams but you can skip these if you like. The measurements can be adjusted to make it the correct size for you.
You will need:
Fabric of your choice (approximately 2m in length)
Ribbing for the waistband (my piece was 80cm x 20cm)
Thread to match
Scissors, sewing machine, pins etc
Instructions:
1. You will need to cut out two rectangles from your skirt fabric, both the same size. A lightweight drapey fabric is best for this project. My fabric pieces were 80cm (about 31") wide, which gives a fairly full skirt. Measure the length you require from your waist to the floor, then add some extra for seam and hem allowances. The length of each of my skirt pieces was 1m (approx 39").
2. Place your two rectangle pieces wrong sides together. Pin the side seams (long edges) of your pieces together. Sew seams with 1/4" seam allowance. Press open. Turn inside out, fold seams and press flat.
3. Sew second seam 3/8" from pressed folded seam to complete your french seams.
4. Divide the top (waist) edge of your skirt into quarters and pin or mark with a fabric marker.
5. By hand sewing or using you machine run a loose gathering stitch around the top (waist) edge of your skirt. Check your sewing machine manual for the best way to do this.
6. Take your ribbing piece and sew the short edges right sides together. Try this band on to get the best fit for your waist. Adjust as necessary. Press the seam open.
7. Fold the waistband over in half so that the wrong sides are together and the long raw edges are touching. Press.
8. Divide the waistband into quarters and pin or mark these points along the raw (not folded) edge.
9. Place the gathered edge of skirt inside the waistband (right sides together) with the raw edges together. Match the quarter markings of each and pin together, ensuring gathering is evenly spread. Sew waist band to skirt piece, stretching the waist band as you sew.
10. With skirt inside out, press the hem up then tuck raw edge under pressing and pinning as you go. It is best to try on your skirt at this point to determine the right length for you and adjust the hem accordingly. Topstitch close to the edge of the fold.
: :
Please leave any questions you have in the comments section. {I think I have made it sound more complicated than it is!} My first attempt at a sewing tutorial and I now realise the importance of taking photos of each step of the process.
{full credit to my four and a half year old photographer}


This is fab! I will try and have a go although my to do list is rather long at the moment! That colour is lovely too.
ReplyDeleteIt's lovely. So simple. I really like the colour you chose. I have never attempted to make my own clothes before but this might be an easy starter pattern.
ReplyDeleteYou're the best! Added to my list as well.
ReplyDeletei love the colour of your fabric. i also love these style of skirts. so easy and comfy to wear. xo
ReplyDeleteGorgeous maxi Rach and great tutorial. Can't wait to make one myself :)
ReplyDeletex
I have been wanting to sew for ages so I will have to make this my first project. Will try and steal my mums sewing machine on the weekend. Don't think I have sewn since we went to sewing classes when we were kids and made some leary track suits!
ReplyDeleteoh i love the colour of your new skirt! and it looks like a really good tutorial. like many others out there i think it is to be bookmarked and i really hope to try out your instructions soon. maxi skirts really are a friend to me as i am tall and like wearing flat shoes. thanks xx
ReplyDeleteooh, that looks great. And nice work 4yo photographer!
ReplyDelete